How using Continue, Groq and Llama 3 gives you coding superpowers

When was the last time you searched Stack Overflow for a technical question? Yeah… thought so.
Of all the areas and industries AI is set to disrupt, software development and coding are where AI tools are the most polished and genuinely useful today. At our fingertips we have access to tools that understand the context of our code, can suggest improvements, write tests, explain concepts and just generally enhance our capabilities.
Amidst all the hype and commercial offerings, there’s a completely free setup that provides AI coding assistance of remarkable quality and blistering speed. I’m talking GPT-4 comparable language models, running on specialised hardware designed for ludicrous AI inference performance. For free.
Even if you’ve already got AI baked into your dev workflow, free is hard to argue with. So strap in and let me show you how to get world-class AI coding assistance in your IDE today.
The tools we’ll be using
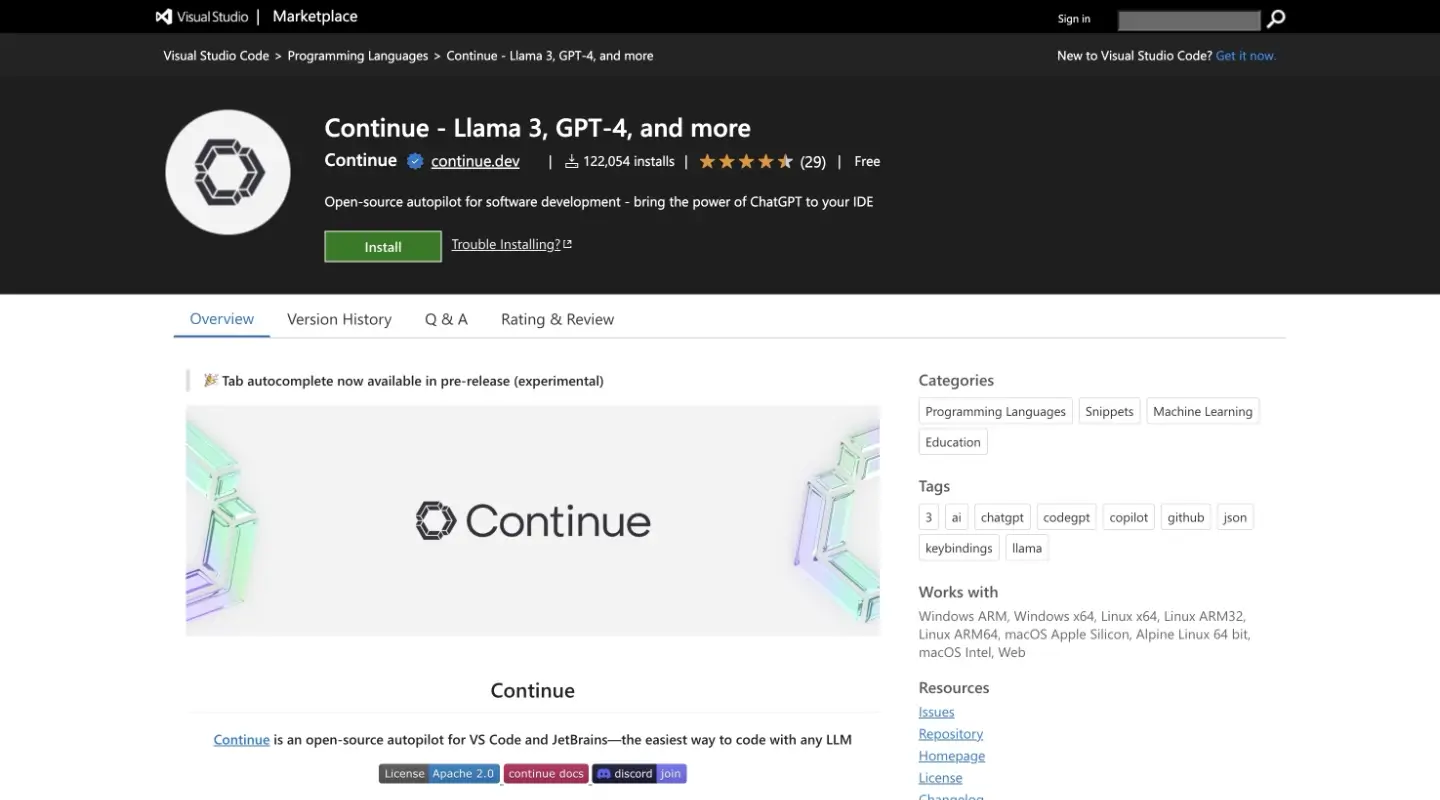
Within our IDE, we’ll install the Continue extension - an open source AI coding assistant that adds a range of AI-powered enhancements to your development environment. Continue can be configured to run with a wide selection of different LLM providers including both commercial and local models.
We’ll be using Continue with Groq. Groq is a hardware company that has developed specialised chips called Language Processing Units (LPUs) designed specifically to run large language models extremely efficiently. Their LPUs overcome the compute and memory limitations of traditional hardware like GPUs, resulting in much faster inference speeds.
We can take advantage of Groq’s LPUs via their API. Because all of this technology is so new, access to their API is currently free of charge whilst they build out and test the technology. Usual caveats apply: don’t expect it be free for ever; expect some throttling and limitations. In my experience it has been working flawlessly so taking advantage of it for free feels like a no-brainer.
Groq supports a limited set of open models, but they do support the very capable Llama 3 from Meta, one of the latest open-source large language models optimised for coding tasks and on par with models like GPT-4 in this domain.
Setting up Groq and Continue
1. Install Continue
Continue is available as a free VS Code extenion. To install it, open up the extensions panel (⇧+⌘+X), search for “Continue” and click on install.
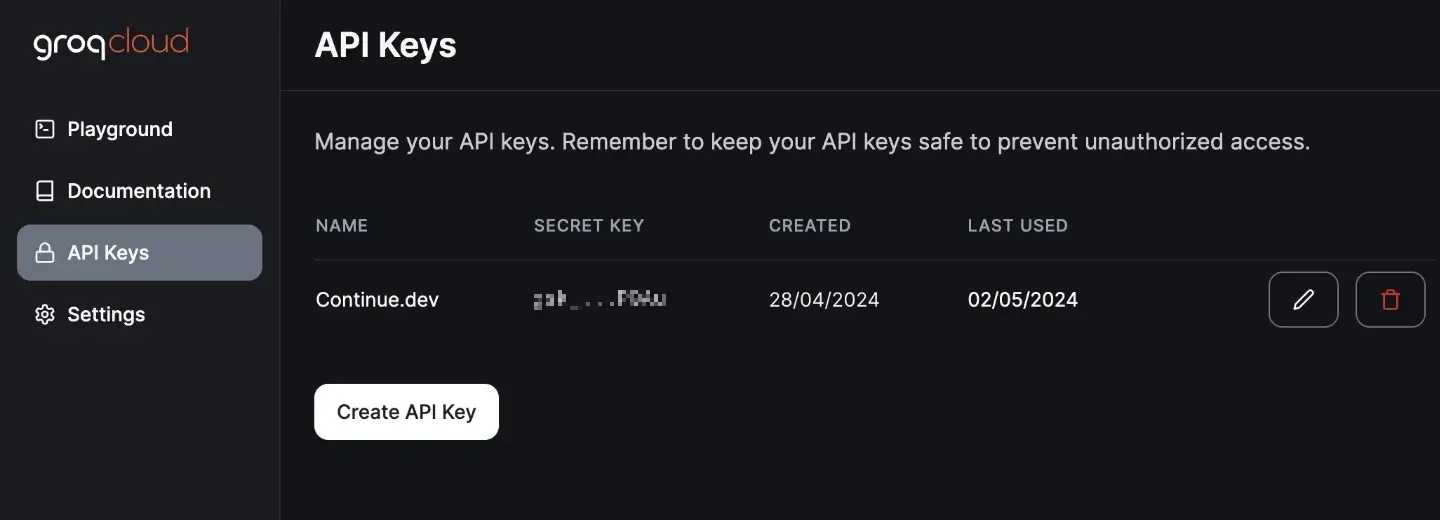
2. Sign up for Groq
To use Groq’s API’s you’ll need to head over to Groq Cloud, and once you’ve registered up you’ll be able to create an API key.
3. Configure Continue
So far, so easy. Once Continue is installed you’ll see a new button in your activity bar on the far left. It’s recommended to click and drag that button over to the right of your workbench to create a secondary sidebar - this way you’ll be able to use Continue alongside whatever you’ve got in your primary sidebar.
The keyboard shortcut ⌥+⌘+L toggles the Continue sidebar to and from view. At the bottom of the Continue sidebar, you should see a little gear icon which you can click to edit the extension’s config.json file.
Within the "models" array, you’ll find a number of preconfigured models. You can keep those or remove them, up to you, but add in the following two entries, entering your Groq API key where shown:
{
  "models": [{
    "title":"Groq Llama 8b",
    "provider":"openai",
    "model": "llama3-8b-8192",
    "apiBase": "https://api.groq.com/openai/v1",
    "apiKey": "<GROQ_API_KEY>",
    "completionOptions": {
      "stop": ["<|eot_id|>"]
    }
  },
  {
    "title":"Groq Llama 70b",
    "provider":"openai",
    "model": "llama3-70b-8192",
    "apiBase": "https://api.groq.com/openai/v1",
    "apiKey": "<GROQ_API_KEY>",
    "completionOptions": {
      "stop": ["<|eot_id|>"]
    }
  }]
}
And that’s it - you’re now setup and ready to use Continue. So, let’s have a look at what you can do with it.
How to use Continue
Now that Continue is installed, configured and hooked up with Groq, let’s explore how you can use it in your development workflow.
Highlight and chat
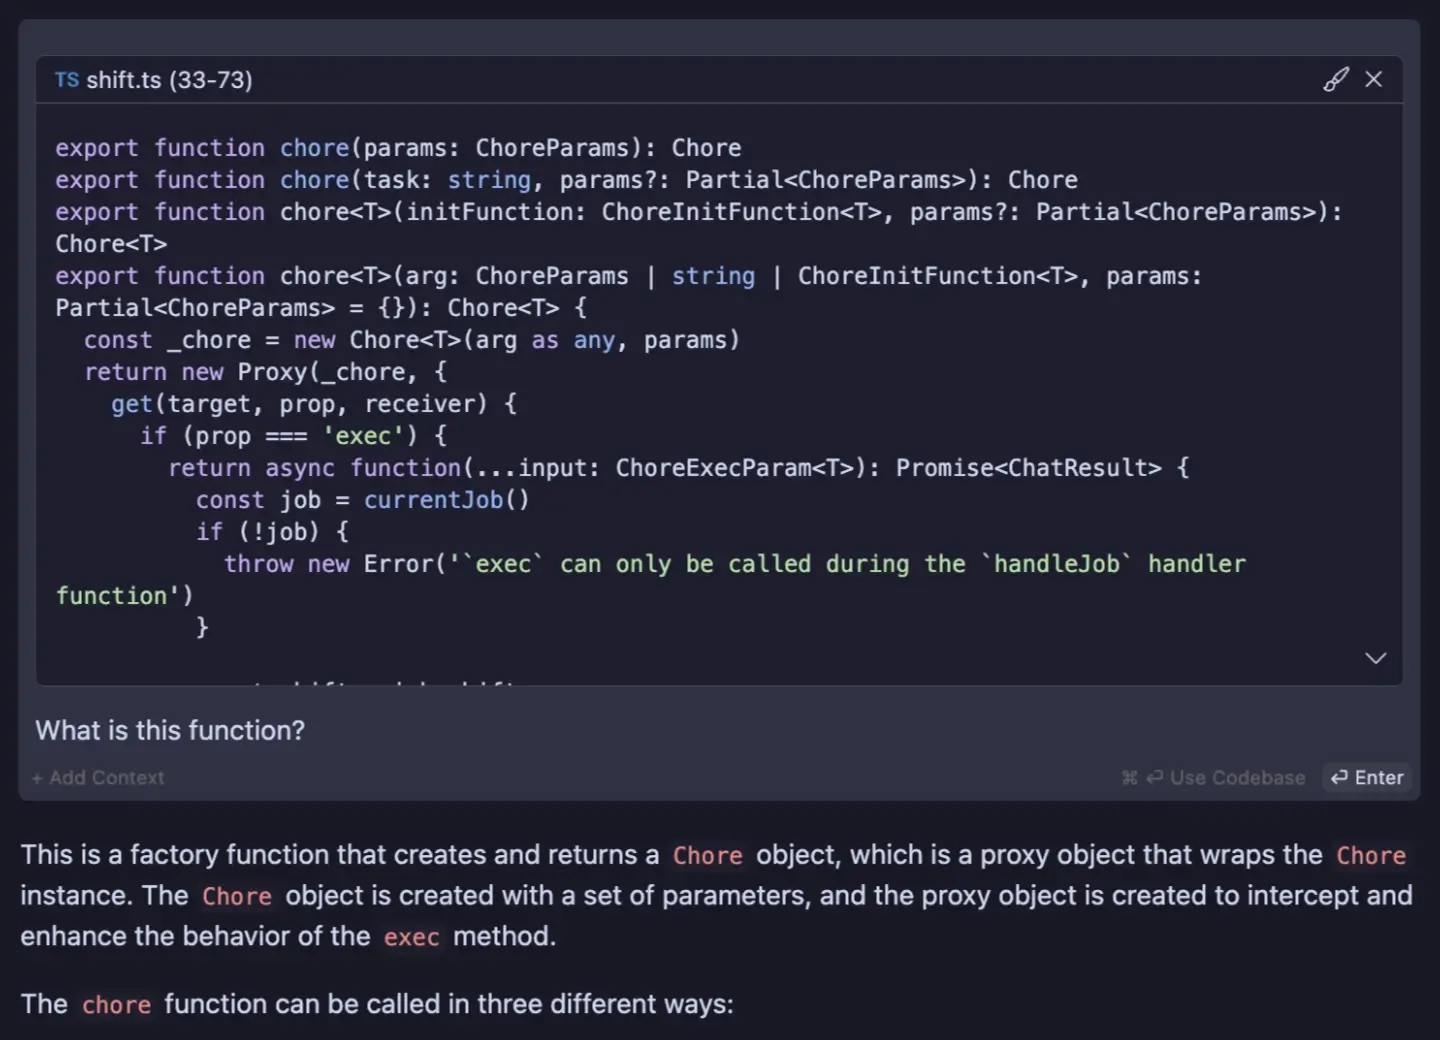
With the Continue side panel open, make sure you’ve selected Llama 3 70b from the dropdown at the bottom of the panel, and you can start chatting with the model just like you would in ChatGPT.
But if you first highlight some code and then press ⌘+L, that code snippet will be added into the chat as context, providing a convenient shortcut to start asking about parts of your code.
Context providers
A context provider in Continue is a plugin that provides context from your workspace (or an external source) to the LLM. All you have to do is reference the context provider by typing @ + name, and under the hood Continue will find that extra context to provide to the LLM.
For example, the context providers @codebase and @directory work similarly by doing some RAG magic under the hood, creating embeddings from your source code, retrieving relevant bits of code, and providing those relevant chunks to the LLM as context to your conversation.
Alternatively, @Git Diff provides details of changes to the current working branch as context. This is great for reminding yourself what you’ve been working on for the past 8 hours.
@Git Diff Please summarise what I've actually done in these 66 changed files 🙏🏻Context providers are pretty powerful and can plug in to your GitHub issues, Jira tickets or any local or remote data source. And as they are plugins, you can create your own. For more details, read up on Context Providers in the Continue docs.
Slash commands
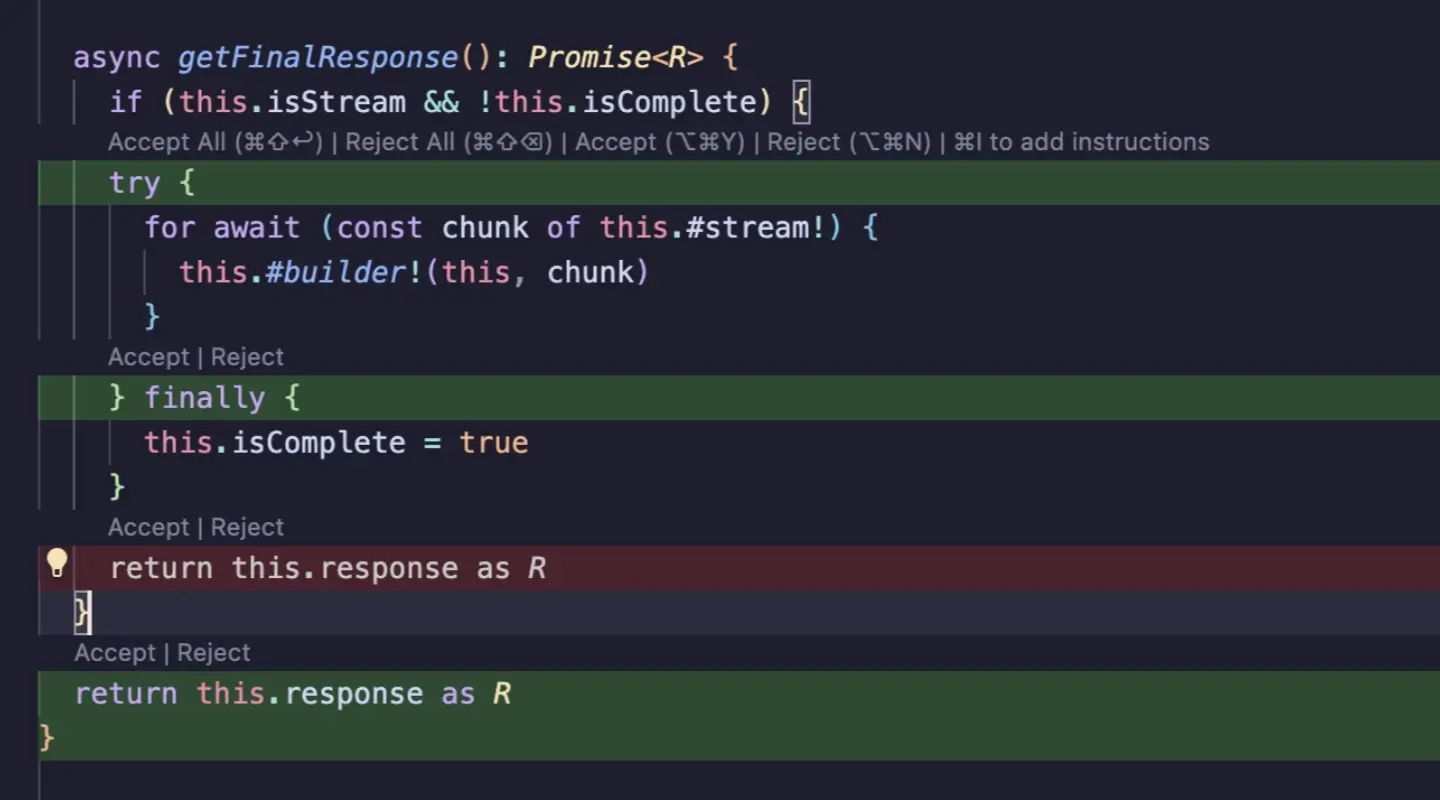
Slash commands are powerful shortcuts that are activated by typing / + command. There are a few built-in commands. For example, you can select a piece of code, hit ⌘+L to bring it up in the chat panel, then type: /edit refactor using a more performant sort algorithm. Then, at blazing speed thanks to Groq, Continue will bring up a diff editor with refactored changes for you to either accept or reject.
I commonly find myself using the /commit command to suggest useful and descriptive diff commit messages.
As with context providers, Continue has a few built in slash commands, but it is also possible to write your own custom commands. For more details, read the Continue docs on Slash Commands.
Inline instructions
Similar to how the /edit command works, it’s also possible to give Continue instructions inline without using the separate chat panels and diff editors. Simply highlight the code you want to edit or refactor, hit ⌘+I and type the instruction into the overlay text box that appears. Continue will edit the code in place, and you’ll have the opportunity to accept or reject all the code or individual lines.
Using this method it’s also possible to issue further instructions so you can iteratively work with Continue to tweak and tune changes to your liking.
Wrapping up
With Continue, we’ve got a fantastic example of how AI can turbocharge a developer’s capabilities. Combining Continue with Groq gives us blazing fast, top-tier language models integrated directly into your IDE - it’s like having a brilliant coding mentor, assistant and encyclopedia, sat next to you at your beck and call. Oh, and did I mention it’s free?
In an upcoming post, I’ll show you how to take things fully private and local by setting up Continue with Ollama. We’ll also dive into tab autocompletes and custom embeddings, two features not natively supported by Groq / Llama 3.
The AI coding revolution is well on it’s way. Developers who embrace these tools are giving themselves a game-changing productivity advantage. Don’t get left behind - subscribe to the RSS feed and follow me @aaronrussell on X to stay in the loop. Let me know what AI-powered dev tools you’re using that I should check out next!